
Introduction
Hello everyone! As a survival expert who frequently ventures into the wilderness, each mountain trip brings different gains and experiences. To be honest, I started as a complete city dweller who had never even been camping. But after years of practice and learning, I can now survive independently in the wild for several days. Today I'd like to share my wilderness survival experience with those of you who are also interested in outdoor life.
I still remember that mixture of excitement and nervousness during my first mountain trip, like embarking on an unknown adventure. Looking back now, those worries were unnecessary - as long as you're well prepared, wilderness survival isn't as scary as imagined. Instead, it can give you unprecedented feelings of achievement and freedom.
Pre-Trip Preparation
Preparation is truly a complex subject. I learned this lesson the hard way during my first camping trip. Young and impetuous, I thought bringing a tent and some dry food would be enough, but ended up shivering through the night and almost getting lost on the way back. Since then, I've established a strict preparation routine.
First, you must inform friends and family of your itinerary - this is extremely important. Now before each trip, I send detailed plans to at least two trusted friends. This includes specific hiking routes, estimated arrival times at each point, GPS coordinates of camping spots, and even parking locations. This not only reassures family and friends but can also help rescue teams find you quickly if needed.
Terrain analysis is also essential homework. I study topographic maps of the destination in advance to understand potential terrain features like steep cliffs, rapid streams, and valleys prone to fog. I also check recent local weather forecasts to adjust itinerary and equipment accordingly.
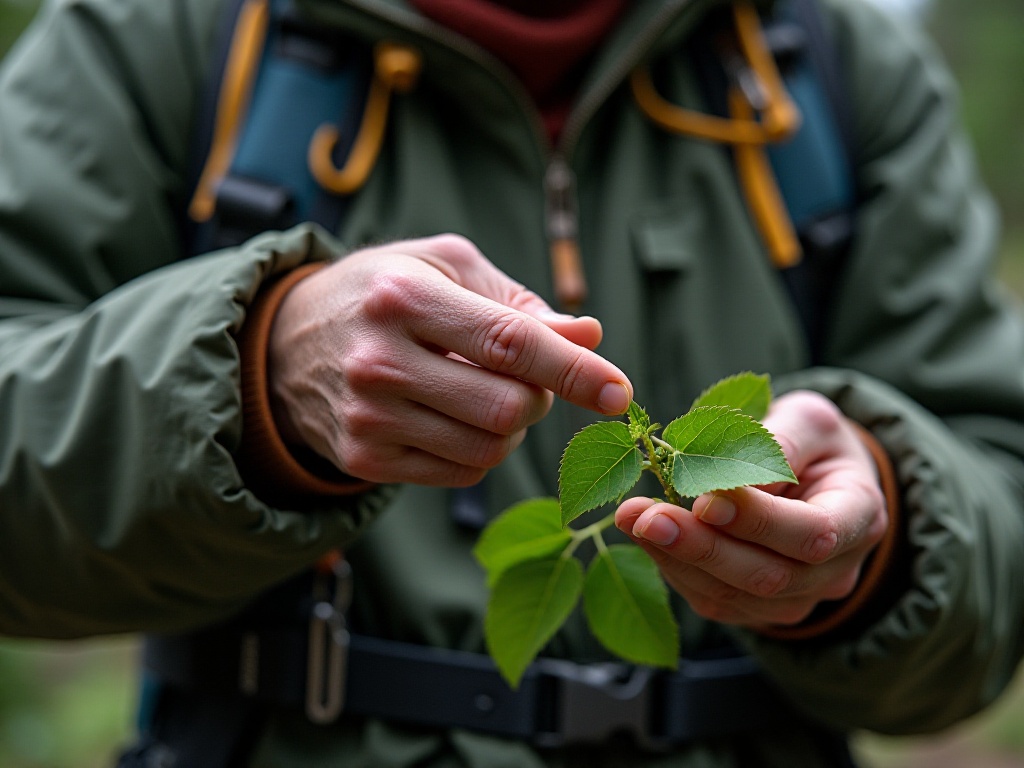
Plant identification is crucial. I've seen people break out in rashes from not recognizing poison oak. So I strongly recommend studying local plants before departure, especially the poisonous ones. For example, North America's "toxic trio": poison oak, poison sumac, and poison ivy - you need to memorize their leaf shapes and growth characteristics. Additionally, it's worth learning about edible wild plants, as this knowledge might come in handy.
Physical training shouldn't be overlooked either. Before officially departing, it's best to do some targeted training like walking with weight or climbing stairs. I practice by walking in city parks with a backpack full of water, gradually increasing training intensity. This way, when you actually hit the mountains, lack of stamina won't affect your mood.

Equipment List
Equipment is a major undertaking. Through numerous experiences, I've compiled a quite practical equipment list.
First is the basic backpack selection. A good outdoor backpack should be waterproof, have sufficient capacity, and a comfortable carrying system. I currently use a 50-liter outdoor backpack with sensible internal compartments for organizing different types of equipment. The outside has many small pockets and attachment points for quick access to frequently used items.
Multi-tools are essential for wilderness survival - I always keep a Swiss Army knife in my pack. It's like a treasure chest with knives, pliers, screwdrivers, and bottle openers all in one. Once when my tent pole broke, I fixed it with this little helper. Later I added a large folding saw, which works great for chopping wood and building shelters.
Lighting tools are also crucial. I carry a high-powered headlamp as primary lighting and a compact flashlight as backup. The two light sources back each other up, just in case. You must bring enough spare batteries and store them waterproof. Being without light at night in the wilderness is no joke.
The survival trio - compass, map, and GPS device - are standard equipment. Although phones now have navigation apps, traditional compass and paper maps are more reliable in areas with poor signal. For GPS, I chose a satellite positioning device that can determine location without phone signal, potentially life-saving in critical moments.
For emergency equipment, my list must include: first aid kit, emergency blanket, survival whistle, fire-starting tools, waterproof matches, solar power bank, etc. The first aid kit should contain common medicines like band-aids, anti-inflammatory drugs, pain relievers, and anti-diarrheal medication. Though the emergency blanket looks like just a thin foil sheet, its heat retention is quite remarkable.
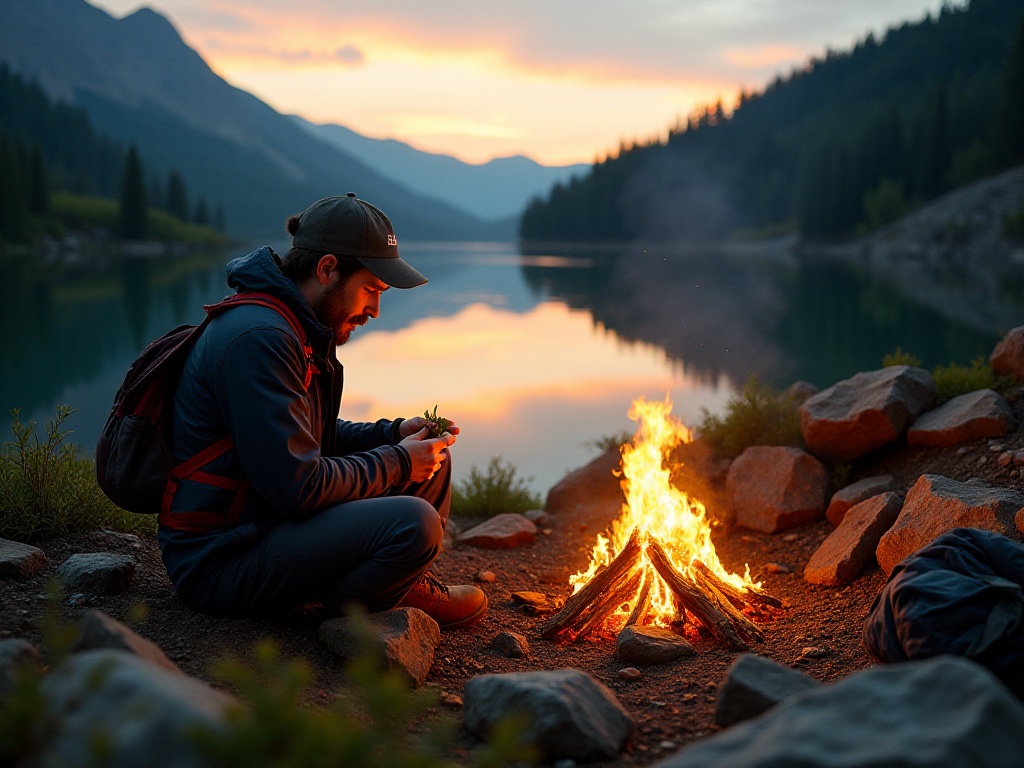
Food and water supply need thorough consideration. I usually bring ready-to-eat foods like compressed biscuits, energy bars, and beef jerky. These foods are high in calories, have long shelf life, and are easy to carry. Bring at least two water bottles, one for water and one as backup. Water purification tablets should also be carried for emergency purification of stream or lake water.
Clothing selection requires attention too. Follow the "three-layer principle": moisture-wicking base layer, insulating middle layer, and windproof/waterproof outer layer. All clothing should preferably be quick-drying fabric - easier to dry if wet. Particularly note that while cotton clothing is comfortable, it's impractical outdoors because once wet it's hard to dry and drains body heat.
Wilderness Shelter
Finding a safe and comfortable place to settle in the wilderness is a basic survival need. Through years of experience, I've developed a method for site selection and shelter building.
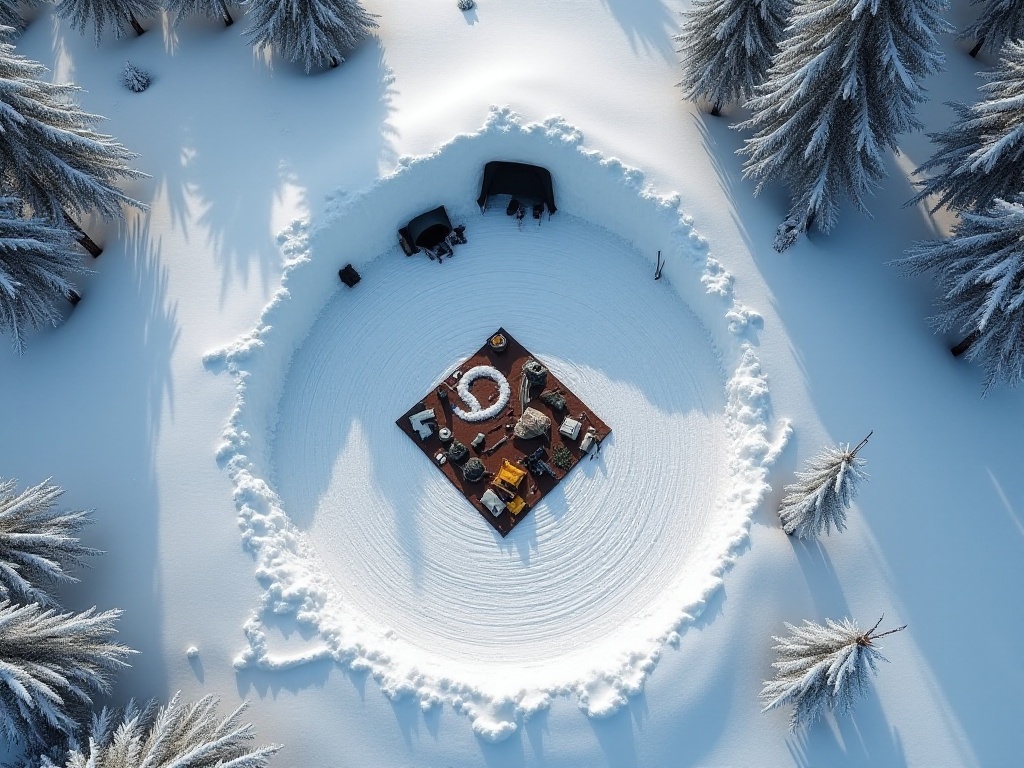
First is site selection. An ideal campsite should be slightly elevated to avoid water accumulation; away from dead trees and dangerous cliffs; preferably backed by large trees or rock walls for wind protection; near but not too close to water sources to prevent flooding; and check for ant nests or wasp nests in the surroundings.
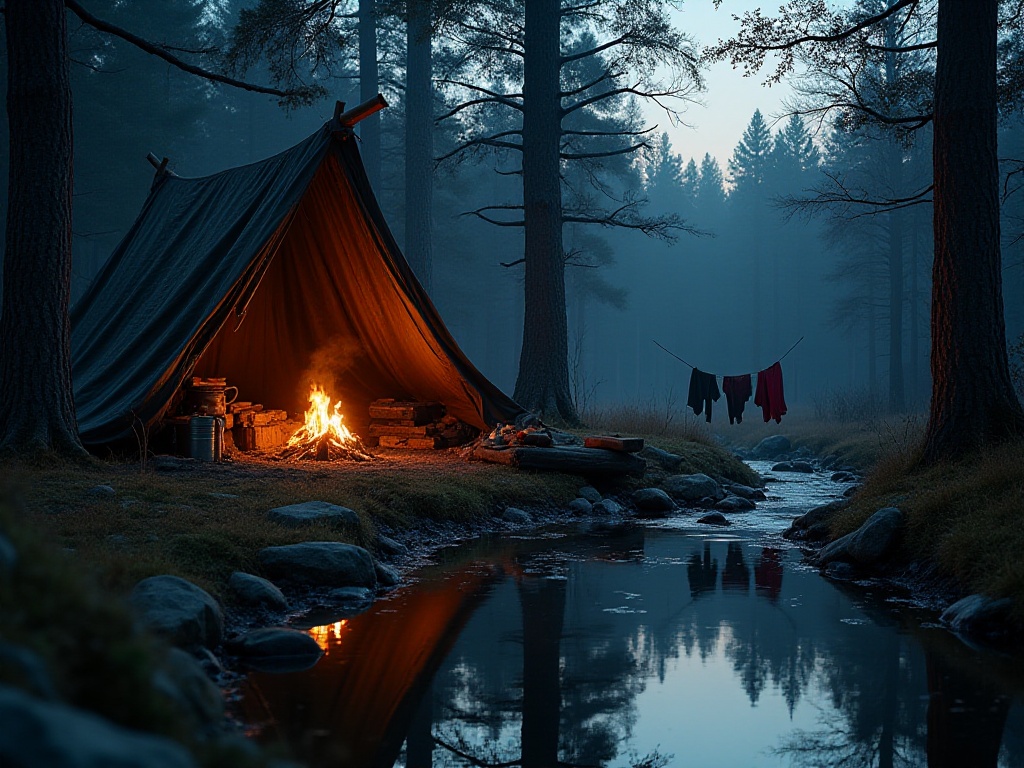
If you have a tent, setup is relatively easy. But I recommend learning to build temporary shelters with natural materials - it's an important survival skill. The simplest method is finding a natural shelter like a cave or hollow under a large tree, then modifying it.
If building from scratch, I most commonly use an "A-frame" structure. First find a sturdy branch as a ridge beam, one end resting in a tree fork, the other end secured with rope or weighted with stones. Then build supporting branches on both sides at an angle, forming a triangular frame. Finally cover with branches and leaves, the thicker the better. Remember to cover from bottom to top so rain flows down the leaves rather than seeping in.
For rainy days, I have a quick method for building a rain shelter. Prepare a large enough waterproof sheet (I usually bring a 3m × 3m one), secure the four corners to trees with rope or to the ground with tent stakes, make the middle higher than the edges so rain flows outward. The whole process takes just 15 minutes - very practical in critical moments.
Ground treatment is also important. Sleeping directly on the ground is not only uncomfortable but rapidly loses body heat. I first lay a layer of branches as foundation, then thick dry leaves, finally a moisture-proof pad and sleeping bag. This prevents moisture and provides good insulation.

Distress Signals
There are many ways to send distress signals, but the most important thing is enabling rescue personnel to quickly discover and confirm them. The international distress signal follows the "rule of three": whether whistle sounds, flashlight signals, or other signals, they're sent in sets of three.
I always carry a survival whistle - the most basic rescue equipment. Its sound is loud and travels far in the wilderness. Use the "three short blast" pattern: three consecutive blasts, then pause, repeat this process.
Flashlight use follows similar principles. In nighttime emergencies, you can send three flash signals skyward with a flashlight. My tactical flashlight also has an SOS flash mode - another internationally recognized distress signal.
Creating ground distress markers is also effective. Use branches, stones, or other conspicuous materials to spell out "SOS" or "HELP" in clearings. Note that letters must be large enough for aerial rescue personnel to see. I usually choose open areas and use high-contrast materials, like dark branches on snow.
Speaking of rescue, clothing choice is important too. I recommend keeping a bright outer layer in your pack, preferably fluorescent yellow or orange for high visibility. You don't need to wear it normally, but put it on in emergencies to greatly increase chances of being spotted.
Resource Utilization
In the wilderness, many seemingly ordinary things can be very useful - the key is learning to adapt and innovate. For example, ordinary shoelaces can serve as emergency rope and fire starters - soak a shoelace in grease and it becomes tinder.
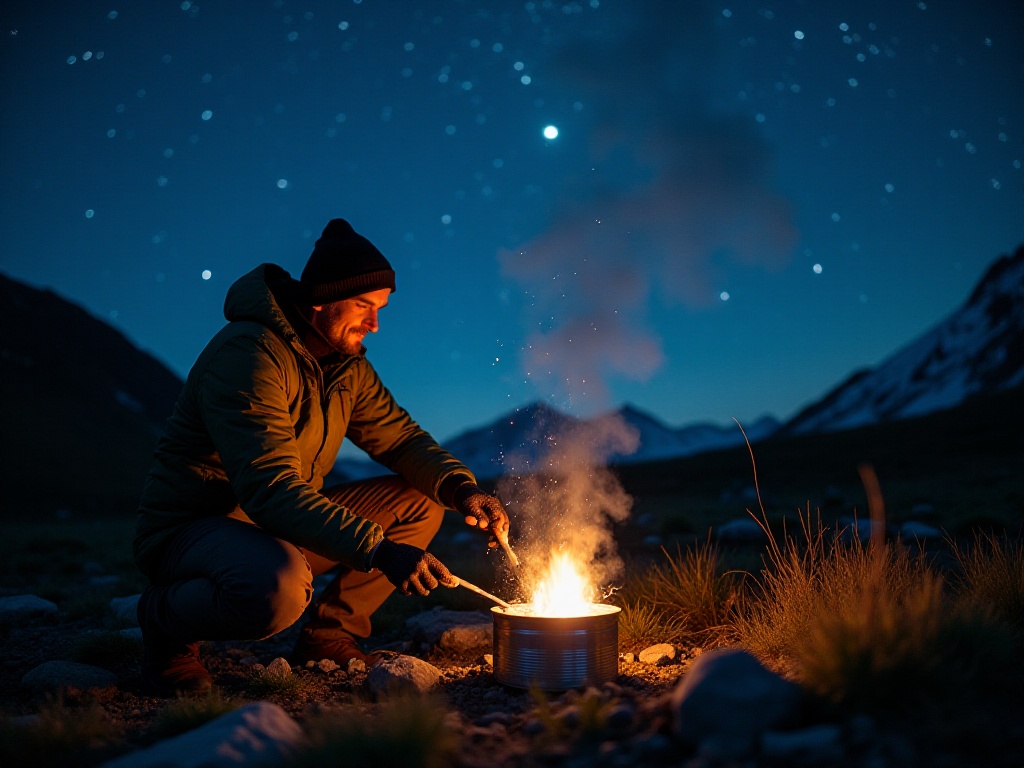
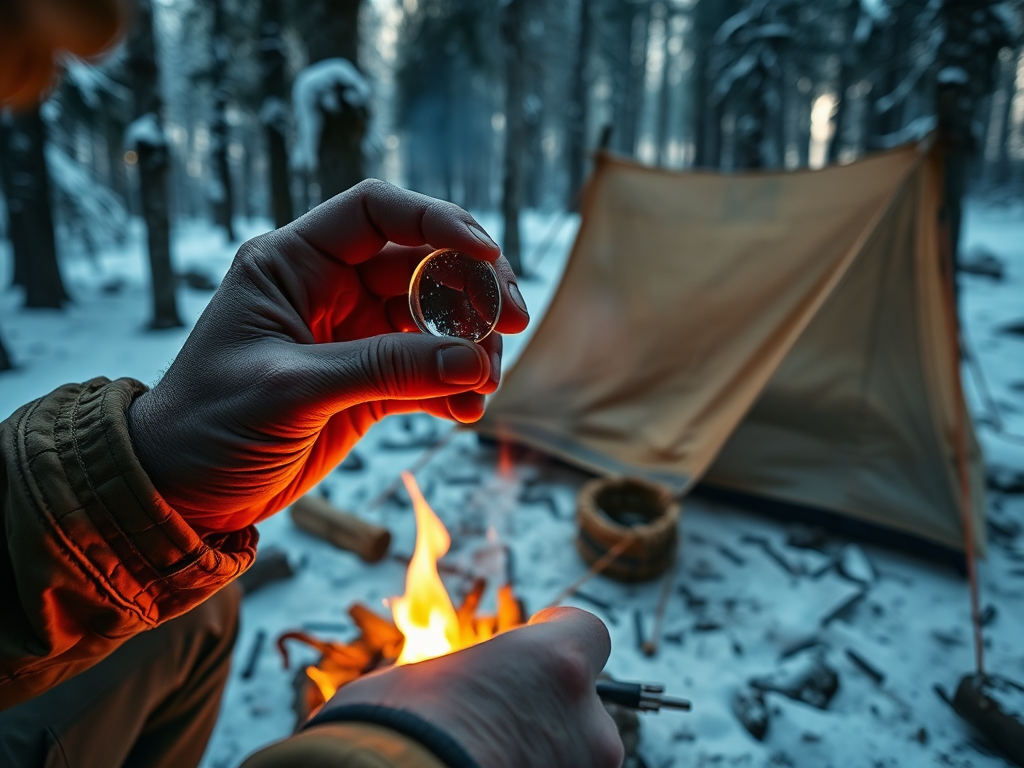
Fire-starting is indeed technical. Besides conventional tools like lighters and matches, I prepare several backup fire-starting methods. The simplest is using a magnifying glass - in sufficient sunlight, focus it on combustible material to start a fire. I also carry a fire steel to create sparks for igniting tinder with a knife.
Natural materials in the wild are valuable resources. Tree bark can be used for fire-starting, and some species' inner bark can be woven into rope. Pine needles can be used for bedding, and when boiled in water provide vitamin C. Knowing these tricks might come in handy at crucial moments.
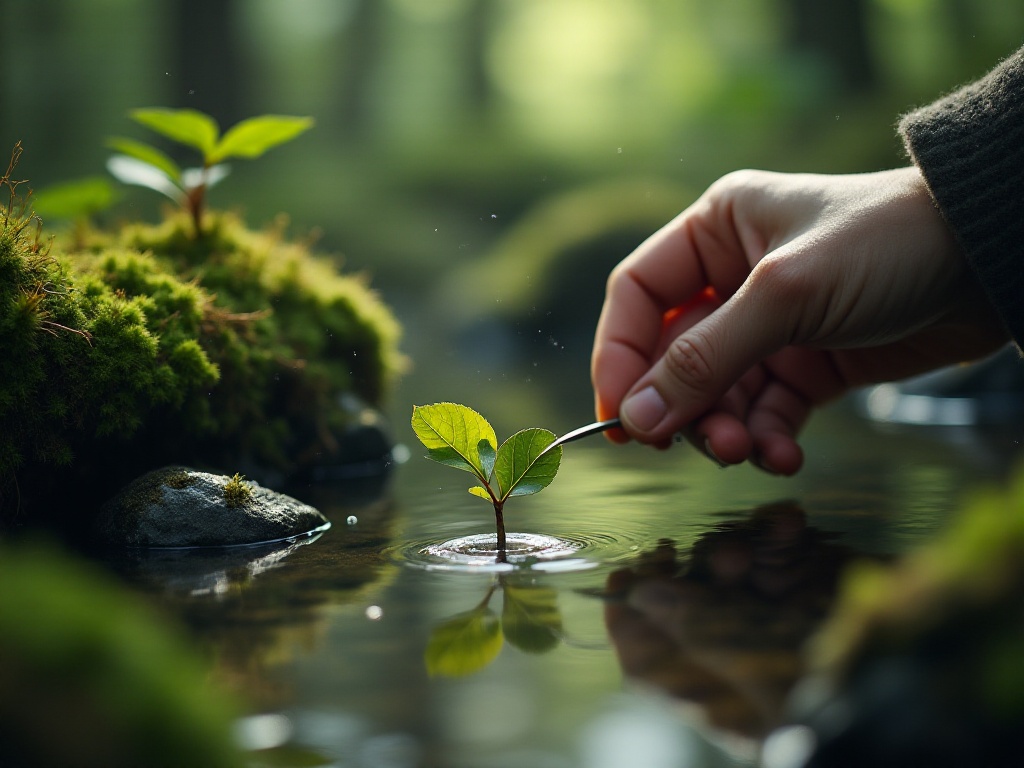
Water collection is also important. If clean water sources aren't available, use simple filtration devices to purify water. For example, filter out large particles with clothing, then further filter through activated carbon or sand. Finally boil for safe drinking. I know another trick - putting clear plastic bags over leafy branches to collect water through plant transpiration.
Tool substitutes are easily found in the wilderness. Two thin branches can become chopsticks, flexible bark can be woven into simple containers, large leaves can serve as plates. These are all experiences I've summarized through practice.
Mental Preparation
Honestly, the most important thing in the wilderness isn't various skills, but mindset. I've seen many people with complete equipment panic when encountering unexpected situations. So I particularly want to emphasize the importance of psychological adjustment.
First, learn to stay calm. Whatever situation you encounter, the first response should be to stop, take deep breaths, and calm yourself. Panic only makes things worse. I have a small trick for dealing with anxiety - counting silently or observing details in the surrounding environment helps calm down.
If unfortunately lost, don't rush around anxiously. My advice is to find a safe spot to stop and carefully recall your route. Try climbing to high ground to observe terrain, or follow streams as they often lead to human settlements.
When alone, learn self-adjustment. I set small goals like building shelter, starting fire, finding water sources, etc. Give yourself positive encouragement after completing each goal. This maintains a positive attitude and makes time pass faster.
Fear and anxiety are normal emotions - the key is not letting them control you. I remind myself that most wilderness situations can be resolved by maintaining rational thinking. The real problem isn't how difficult the environment is, but how we face these difficulties.

Conclusion
Reading this far, are you eager to test your skills in the wilderness? Remember, all skills need practice to truly master. I suggest starting with simple camping and gradually increasing difficulty to accumulate experience.
Ultimately, wilderness survival is about learning to live harmoniously with nature. It not only trains our will but helps us understand nature more deeply and experience life's true meaning. Looking forward to meeting fellow nature lovers in the mountains and wilderness!