Water Acquisition
Solar Water Distiller
Required Materials
In outdoor survival, obtaining clean water is the top priority. Think about it - how long can a person last without water? So today, let's discuss a simple method to obtain clean drinking water in the wild - the solar water distiller. Sounds sophisticated? Don't worry, it's actually very simple. You just need the following items:
-
A large piece of clear plastic sheet. You might have one at home or can buy it from a supermarket. Choose a tear-resistant plastic sheet to ensure the distiller's stability. Clear plastic maximizes solar absorption and improves evaporation efficiency.
-
A shovel or digging tool. You can use it to dig holes. Preferably a multi-functional one with serrated edges and a pointed tip for easy use in different terrains. While digging, you can also exercise and build muscle strength.
-
A water container. Anything that can hold water works, like a water bottle, flask, or can. A transparent container is better as you can observe the distillation process, making it more interesting. The opening shouldn't be too wide to reduce evaporation of the distilled water.
-
Some plants or a cup of water. This is used to increase humidity in the distiller. Choose plants with high water content, like succulents or leafy vegetables, as they release more moisture during distillation. If using water, make sure it's clean to avoid contaminating the distiller.
Operating Steps
Now let's look at the specific steps. First, find a sunny spot, then:
-
Dig a hole about 60cm deep and 90cm wide. The hole should be large enough to place the container in the center. Adjust the depth and width based on your needs, but ensure it can hold enough plants or water source. If digging in sandy soil, reinforce the edges to prevent collapse.
-
Place the container in the center of the hole. You can place plants around the container or pour in a cup of water to increase humidity. When choosing plants, consider their evaporation rate - plants with larger leaf surface areas usually work better. If using water, sprinkle it evenly on the hole bottom to increase evaporation surface area.
-
Cover the entire hole with plastic sheet. Ensure the edges are weighed down with soil to prevent moisture escape. When securing the plastic, avoid soil contact with the container opening to prevent contamination. The plastic tension should be moderate - not too loose to leak vapor, not too tight to affect distillation.
-
Place a small stone in the center of the plastic sheet, creating a depression that allows condensed water to drip into the container. The stone's weight should be appropriate - not too heavy to damage the plastic, not too light to create an effective depression. The stone can also help with heating and promote evaporation.
That's the whole process. The sun will evaporate all moisture in the hole, which condenses on the plastic and drips into your container. Doesn't it seem like a mini natural distillation device? I find this technique very useful and applicable anywhere with sunlight. It's not only environmentally friendly but also lets you experience primitive scientific fun in outdoor survival.
Benefits
The advantage of using a solar water distiller is that you can obtain clean drinking water from seemingly dirty sources. Whether it's muddy soil or bacteria-containing river water, after solar distillation, you get pure water. This not only saves lives but also provides security during outdoor survival. Most importantly, this method doesn't rely on any chemical reagents, using only natural forces to obtain water. Imagine being in the wilderness, with clear distilled water dropping from above - it satisfies both physical needs and provides spiritual enjoyment.
Fire Starting
Battery Fire Starter
Required Materials
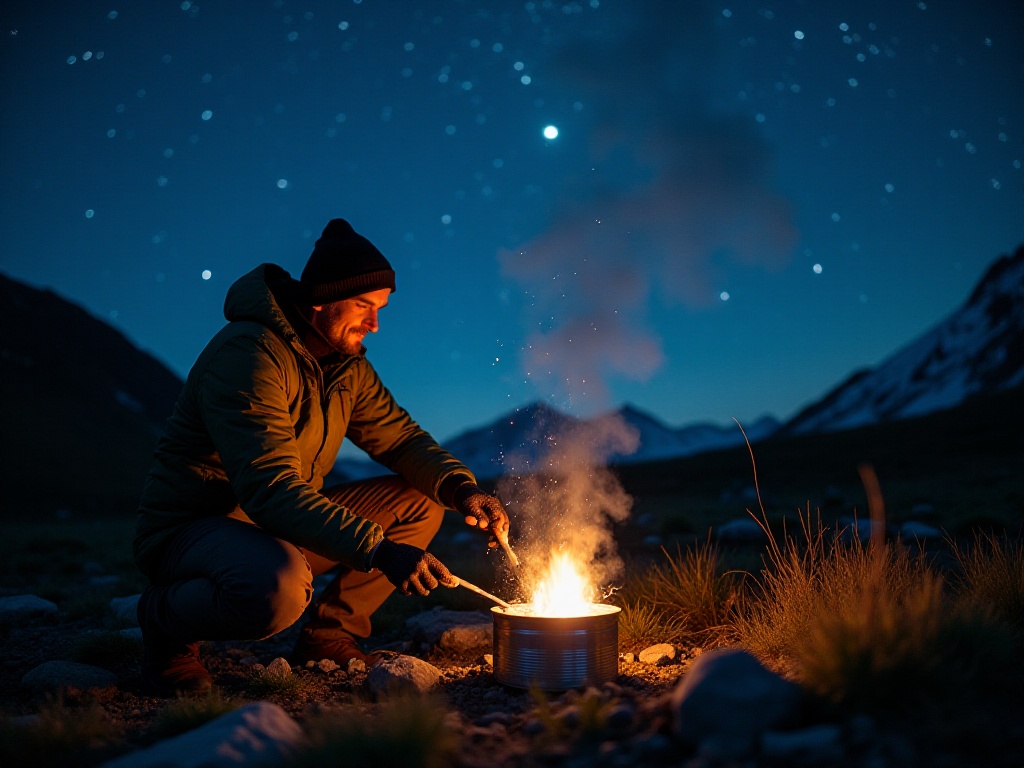
Let's talk about fire starting. What do you do without a lighter or matches? Don't worry, I'll introduce you to a simple and practical method - the battery fire starter. You only need:
-
A battery, preferably 9V, as its higher voltage more easily produces sparks. The 9V battery's voltage is sufficient for brighter and longer-lasting sparks, which is crucial when igniting flammable materials.
-
A small piece of steel wool or thin metal wire. Steel wool, with its flammability and conductivity, is ideal for battery fire starting. Thin metal wire works too, but ensure it's thin enough to quickly heat to ignition temperature when current passes through.
Operating Steps
The operation is very simple:
-
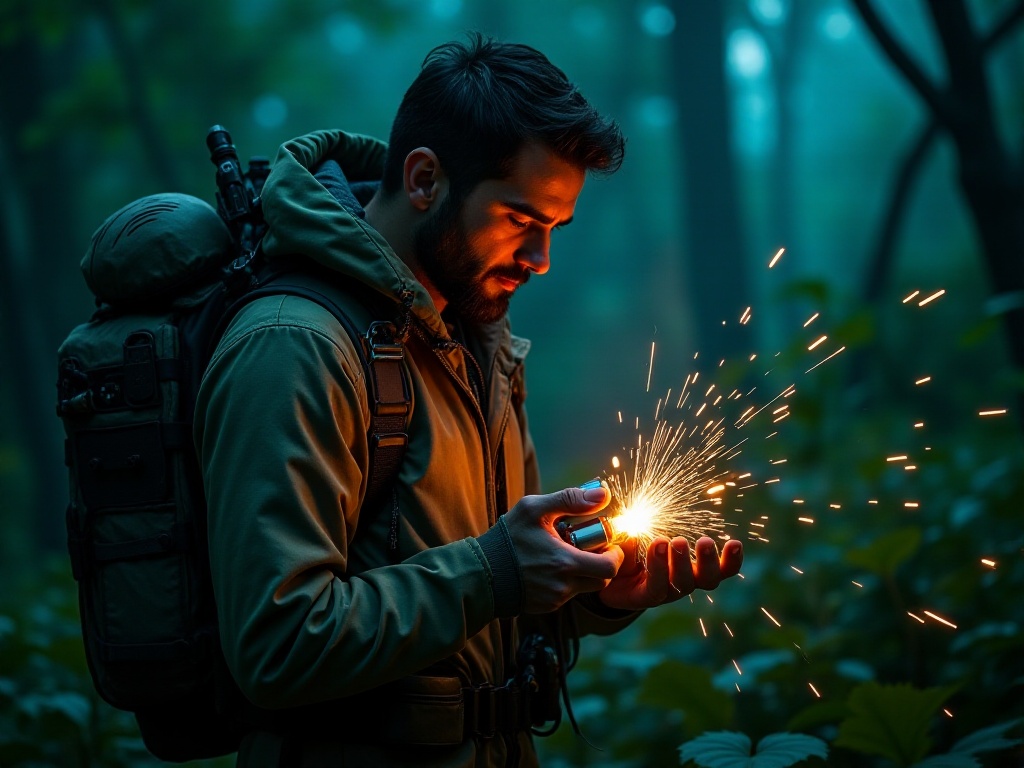
Take a small piece of steel wool and gently rub it across the battery terminals. The current will quickly heat and ignite the steel wool. Rub gently to avoid damaging the battery. Once lit, immediately transfer the steel wool to prepared tinder, ensuring successful fire transfer.
-
If you don't have steel wool, you can connect the battery terminals with a thin metal wire to create sparks and ignite prepared tinder or other flammable materials. The wire length should be appropriate - not too long to weaken sparks, not too short to make handling difficult.
Benefits
The advantage of battery fire starting is its practicality in emergencies. You might not have thought that when your phone dies and lighter fails, a battery and some steel wool could let you start a campfire, boil water, dispel cold, or even signal for help. Imagine being able to light a warm fire on a cold night using this method - wouldn't it make you feel like a survival expert? More importantly, this method requires no complex tools, just a battery and some steel wool carried with you to provide fire in outdoor survival, increasing your confidence in handling various emergencies.
Building Shelter
Shelter Types
Simple Lean-to
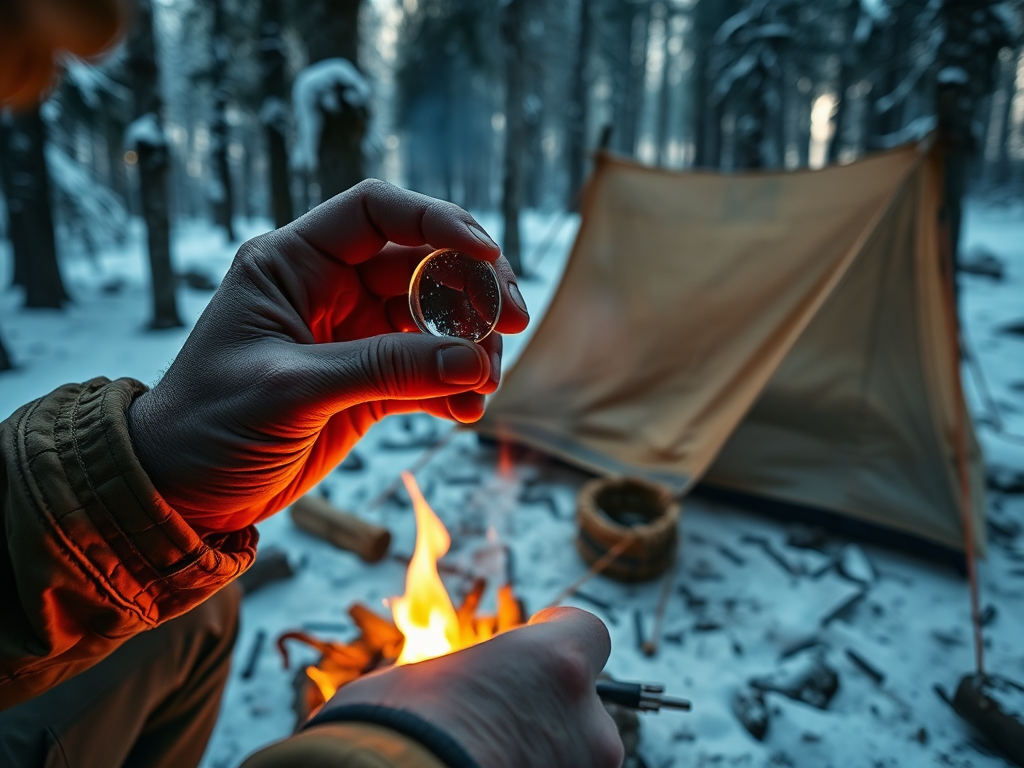
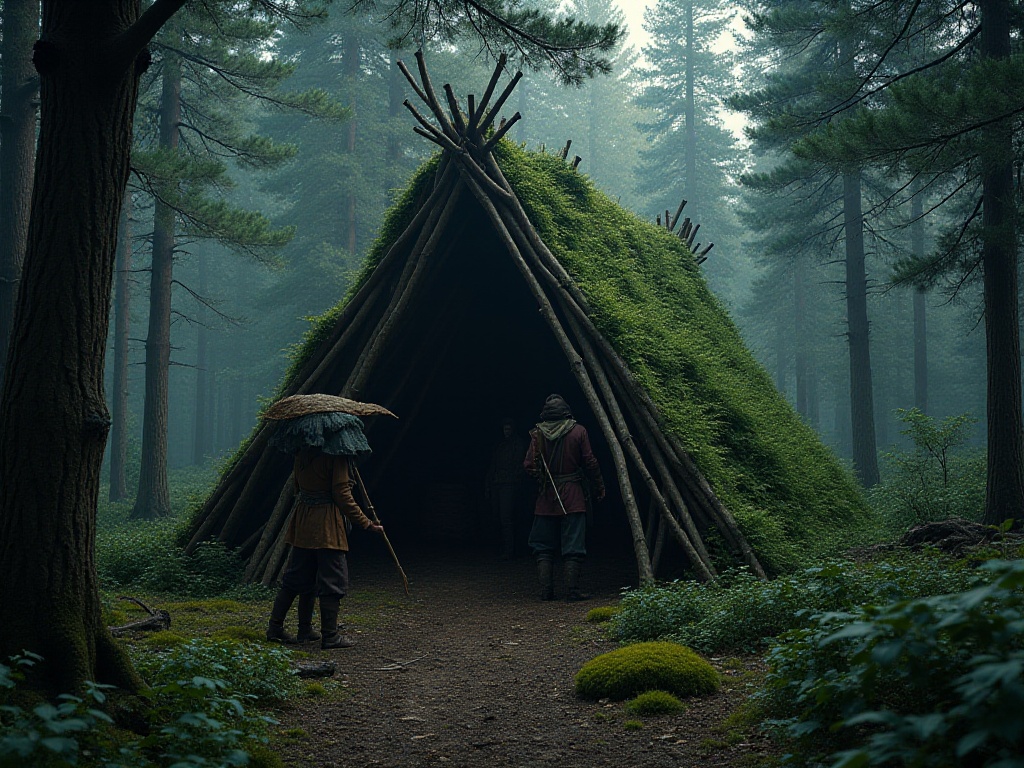
In outdoor survival, building shelter is essential. A lean-to is a very common shelter type. You only need to find some branches or logs, lean them against a horizontal support to form a simple shelter. This shelter can protect you from wind and rain. When building, choose sturdy yet lightweight branches or logs to ensure structural stability. The shelter height should be moderate, allowing you to stand while withstanding wind forces.
A-frame Tent
An A-frame tent is also a good choice. Use two long poles to form an "A" shape, cover with foliage to create a triangular structure. This tent is not only simple but also stable, suitable for short-term outdoor survival. When building an A-frame tent, material selection for poles is important - bamboo or hardwood are good choices. Foliage coverage should be thick enough to ensure warmth and dryness inside.
Leaf Hut
A leaf hut is another common wilderness shelter. Using natural materials like branches, leaves, and moss to build a low shelter. This shelter provides good insulation as leaves and moss are excellent insulating materials. When building a leaf hut, layer leaves and moss carefully, ensuring no large gaps between layers to prevent heat loss.
Construction Steps
Steps for building shelter:
-
Choose a location away from dangers like riverbanks or cliffs. Consider safety, avoiding potential floods, rockfalls, or other natural hazards.
-
Use natural materials to build the framework. Whether it's a lean-to, A-frame tent, or leaf hut, all need a sturdy frame for support. Frame design must consider stability and load-bearing capacity to prevent collapse in wind and rain.
-
Cover the frame with branches, leaves, moss, or any available materials to ensure the shelter can withstand weather and provide adequate insulation. Choose covering materials considering insulation and waterproofing to stay dry and warm inside.
Benefits of Shelter
A good shelter provides safety and comfort in outdoor survival. It not only protects from harsh weather but also provides warmth, preventing you from freezing at night. More importantly, it gives you a relatively safe place to rest, recover strength, and prepare for the next day's challenges. Shelter building isn't just a skill demonstration but shows respect for and utilization of nature, a way of communicating with the natural world.
Navigation Without a Compass

Solar Navigation
Sun Position in Northern Hemisphere
How do you determine direction without a compass? The most common method is observing the sun's position. In the Northern Hemisphere, the sun rises in the east and sets in the west. You can determine east and west by observing shadow movement. When the sun rises, your shadow points west; when it sets, your shadow points east. Besides shadows, you can estimate time using the sun's height, very useful for planning routes and activities.
Star Navigation
Locating the North Star
At night, you can navigate by stars. The North Star (Polaris) is our most reliable friend for finding north in the Northern Hemisphere. You can locate it through the Big Dipper constellation. The two stars at the end of the Big Dipper's handle point to the North Star. The North Star's position remains almost constant, making it a fixed reference point for night navigation. Learning to identify it not only helps with navigation but deepens your understanding and appreciation of the night sky.
Natural Landmark Navigation
River Flow Direction
Rivers are nature's compasses, always flowing from high to low ground. If you find a river, following its flow indicates downstream direction, usually east or south. Following downstream typically leads to signs of civilization, but be cautious of river changes and dangers to avoid getting trapped or injured.
Moss Growth Direction
In the Northern Hemisphere, moss typically grows on the north side of trees due to less sunlight and higher humidity. You can determine north by finding moss on trees. Moss growth direction is a subtle clue but can provide crucial information when lost.
Navigation Steps
Navigation steps are simple:
-
During day, observe sun position and shadow movement. This helps determine direction and plan routes, avoiding walking during hottest periods.
-
At night, find the North Star or other stars for direction. Star navigation is not only practical but lets you experience the night sky's magnificence and mystery.
-
Look for natural landmarks like river flow or moss growth direction. These landmarks not only indicate direction but help you better understand and appreciate the natural environment.
Benefits of Navigation
Without modern navigation tools, these methods help maintain direction and avoid getting lost. Even in extreme environments, you can find your way home, showing both survival skills and respect for nature. Learning and practicing these navigation techniques not only increases safety in outdoor survival but enhances your sensitivity to and observation of the natural environment.
These tips and basic skills will give you more confidence in outdoor survival. Whether obtaining water, starting fires, building shelter, or navigating, you can handle situations effectively. These techniques not only save lives in emergencies but enhance enjoyment of natural exploration. Hope this knowledge helps - share with your friends to learn and grow together. Next time we'll discuss finding food and treating wounds in the wild. Remember to follow - outdoor life isn't just challenges, it's also enjoyment.


